Do you have an iPhone for the first time and need some help? In this guide, we’ll explain all about setting up your iPhone and getting it ready for work.
Read on after the announcement.
Set up and prepare your iPhone
No clue with your new iPhone. So you have to find out for yourself how the device works, or look for information on the Internet. So in this article we’ll start with the absolute basics. You’re taking your new iPhone out of the box and want to get started: How does that work?
The first step is to insert your SIM card. There is a holder for this on the right side of your device. Push it in with a paper clip (or a special pin from the package) so that the holder sticks out of the sleeve. Then put your SIM in the holder – there’s only one way to do it. Then return the holder to the cover.
Turn on iPhone for the first time
Turn on your iPhone by pressing the power button on the side. Now you have to follow some steps to set up the device:
- Choose the language you want the iPhone to work in;
- Choose the country you are in;
- As a novice user, this will likely be your first iPhone, so you won’t be able to use any other Apple device to sign in. So choose “Manually configure”;
- Select your WiFi network and enter the password;
- Your iPhone is now activated.
Now you get some options to setup like face recognition (Face ID). You can choose to do so immediately by clicking Continue. Then you will see the instructions automatically. If you’re not yet sure if you want to, tap Configure later in Settings. Then you can always adjust it again.
Create an Apple ID
Also important: Create an Apple ID. You need this to protect your phone, for example, to download apps, more on that later. You create an Apple ID while setting up your iPhone:
- Tap “Forgot Password or No Apple ID” and then “Create Free Apple ID”;
- Enter your name and date of birth and click “Next”;
- Enter your email address and select “Continue”;
- Choose a strong password of at least 8 characters and fill it in;
- Enter your phone number now, as it will be used to send you a verification code;
- Tring-tring: Enter the code you just received and select OK.
You almost have an Apple ID now. You just need to confirm your email address by clicking on Verify Email Address. You will now receive a verification code in your email program and have to enter it again on the iPhone.
→ Also useful: This is how you protect your Apple ID with extra strength
Are you switching from one iPhone to another?
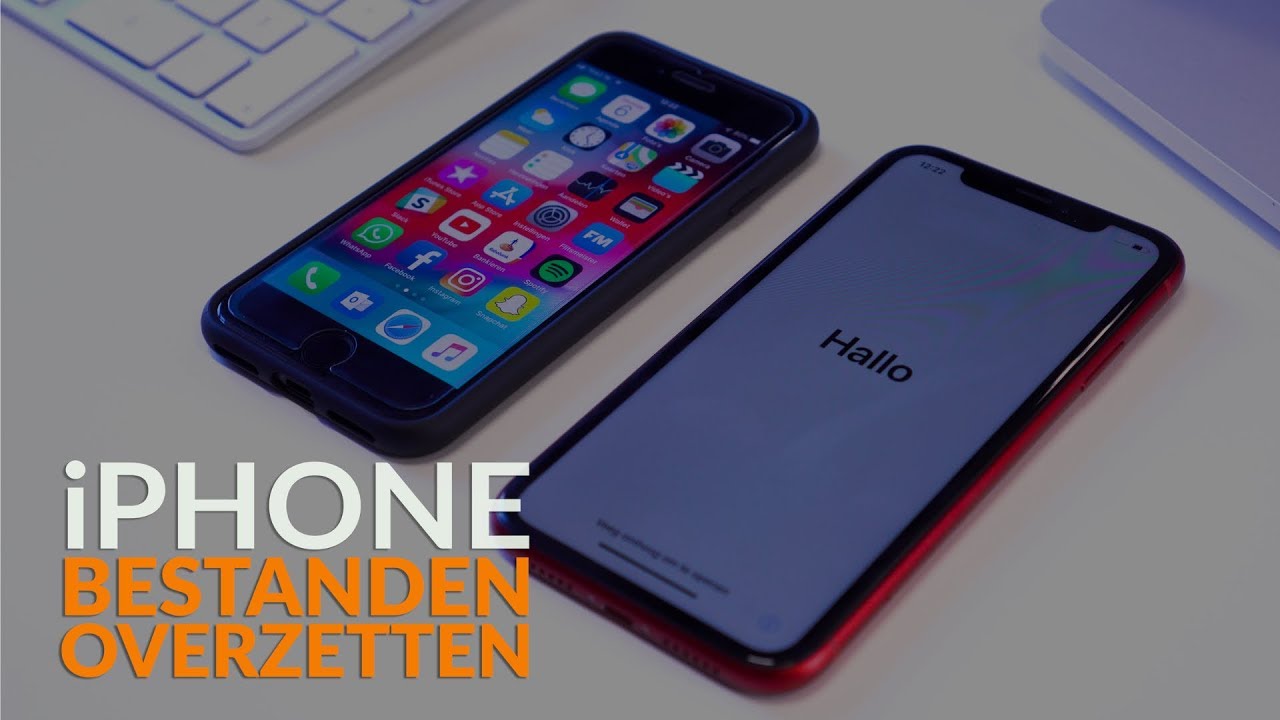
In the past, switching between iPhones was very difficult, but nowadays it is very simple. In the article below, we’ll explain exactly how to transfer all your personal data — like contacts, downloaded apps, and emails — from one Apple phone to another. In the accompanying video, we show what the steps look like.
→ That’s how you can Transfer old iPhone to new iPhone
→ And this is how you move from a file Android phone to iPhone
→ Tip: this It’s better to adjust your iPhone settings as soon as possible
Get to know iPhone
I called It’s been the go-to site for all Apple users since it was founded in 2007. We’re happy to help newcomers get started with our beginner’s guides. For example, we explain how you can make video calls with iPhone, what are the best apps and what tricks you can use to take better photos. Read more on our website iPhone Beginnersgids, or click on one of the links below.

“Lifelong entrepreneur. Total writer. Internet ninja. Analyst. Friendly music enthusiast.”


More Stories
South Korea wants to ban the use of iPhones in the military due to security concerns
Sony is rolling out a new PlayStation 5 system update that includes a handy Community Guide feature
What can the audio recorder do in Windows 11?